Carpentry Trestle
A carpentry project with my brother.
Intro
This one is a bit out of the ordinary, recently I did some carpentry with my brother and wanted to document it here. He is a carpenter and he was working on a project so I joined in. We made some trestles together!
He taught me a lot about the machines we used and the trade itself. Overall we made four pairs of trestles or more like he made three and I made one. Except for one of the pairs, all of them are made of spruce. The last one was made of oak, which is actually kind of over the top since it is way too good of a wood for this. However, my brother had the wood lying around and it seemed neat to make one from oak.
The Process
The whole project was done over four days.
Day One
We started out with just a bunch of 6x4cm wooden beams. Some messy calculations later we were sure we had enough wood for four trestle pairs.
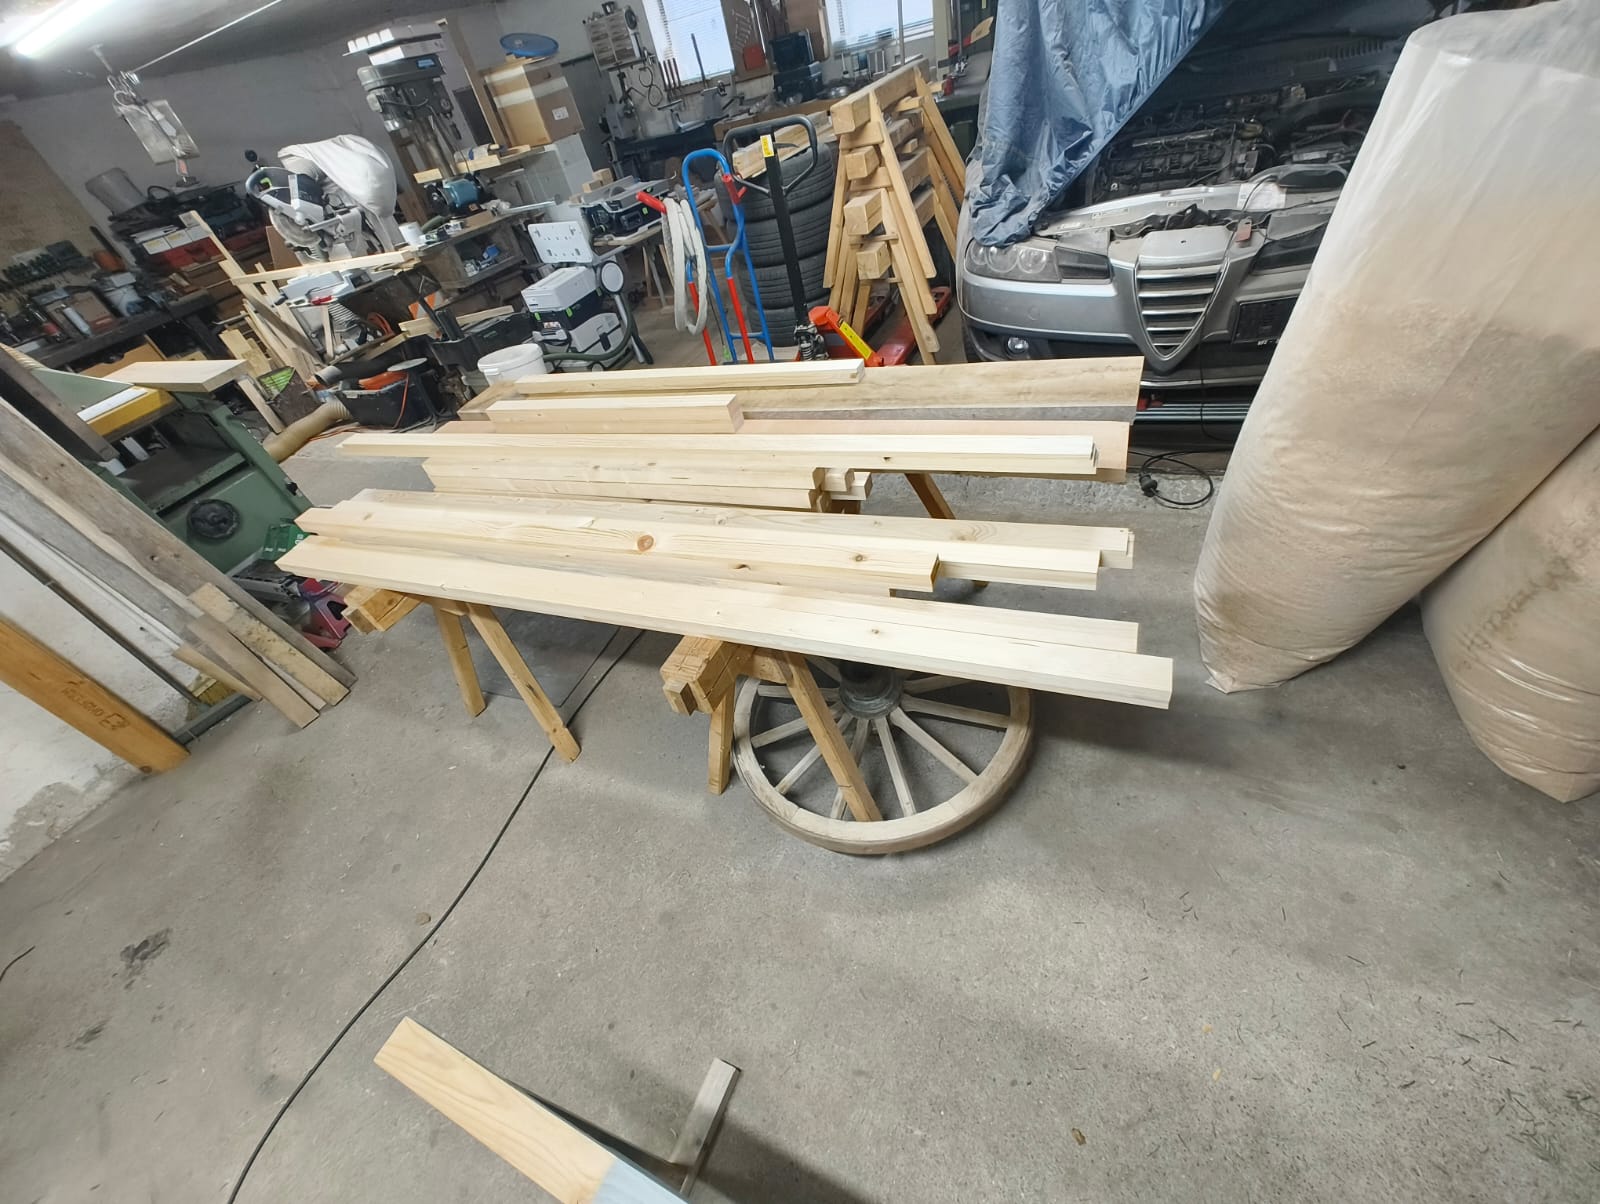
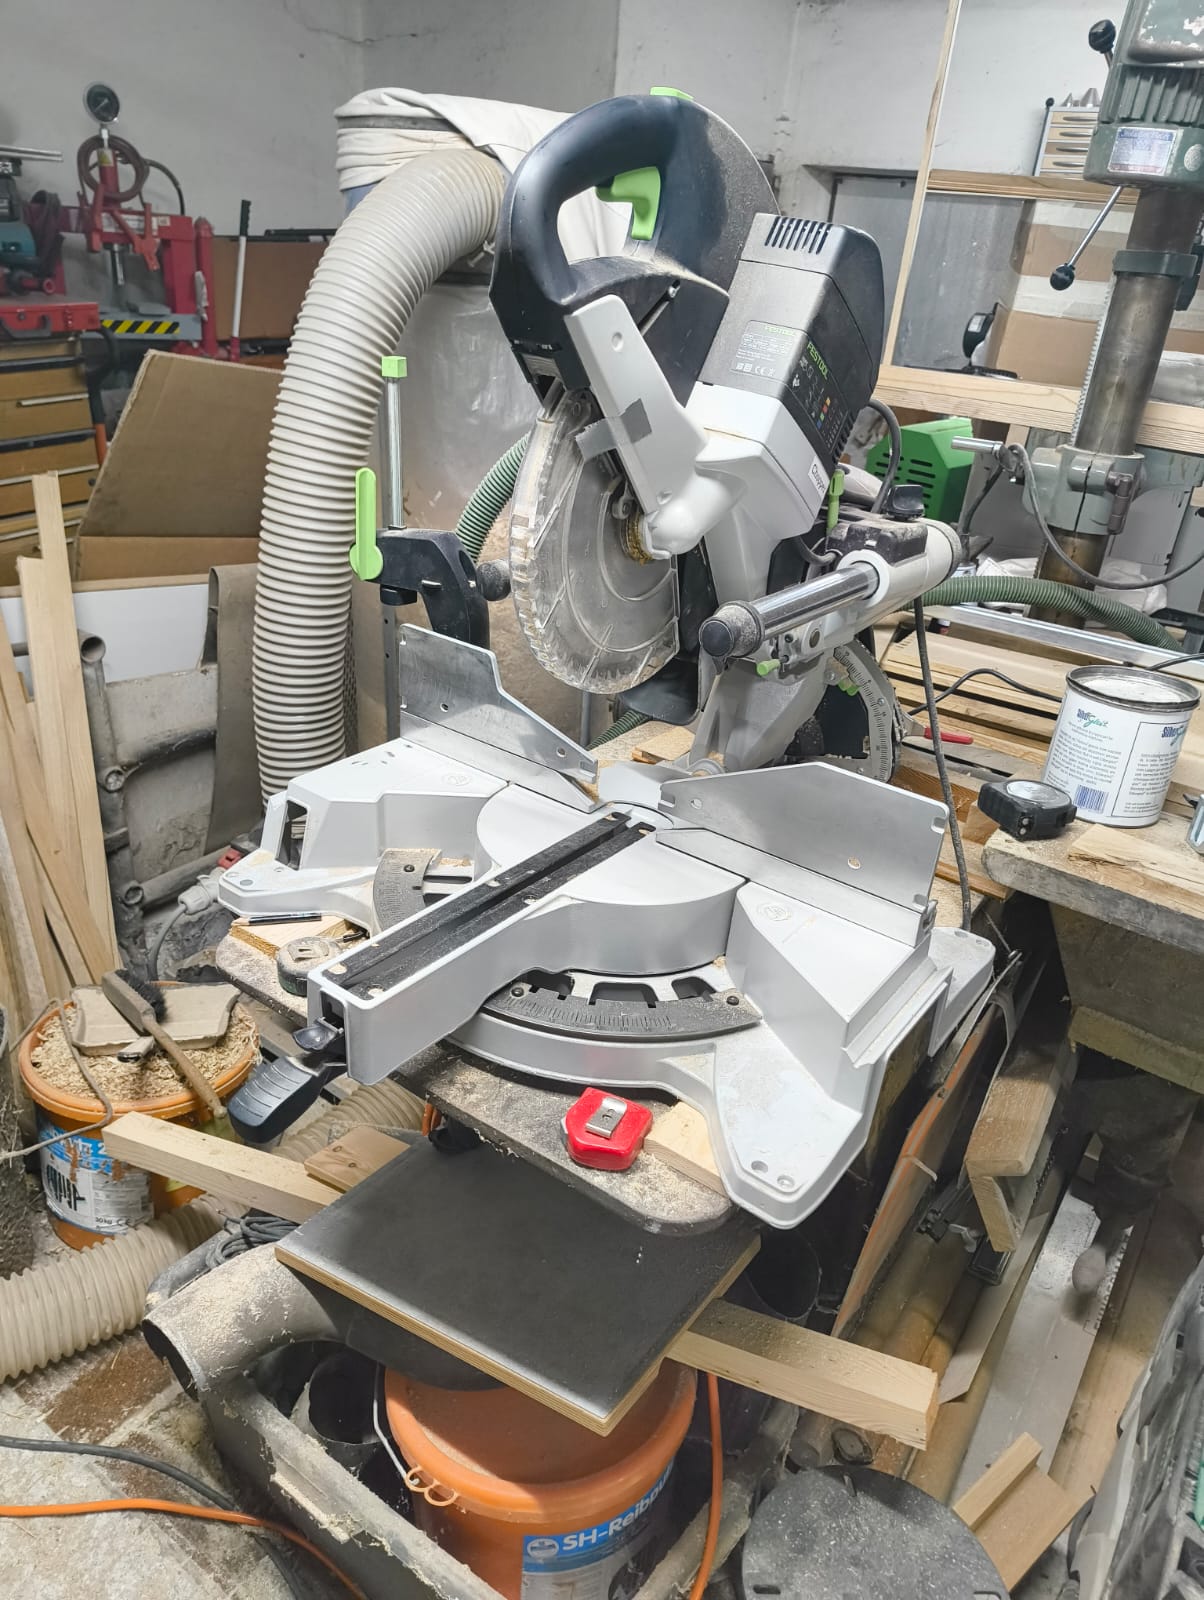
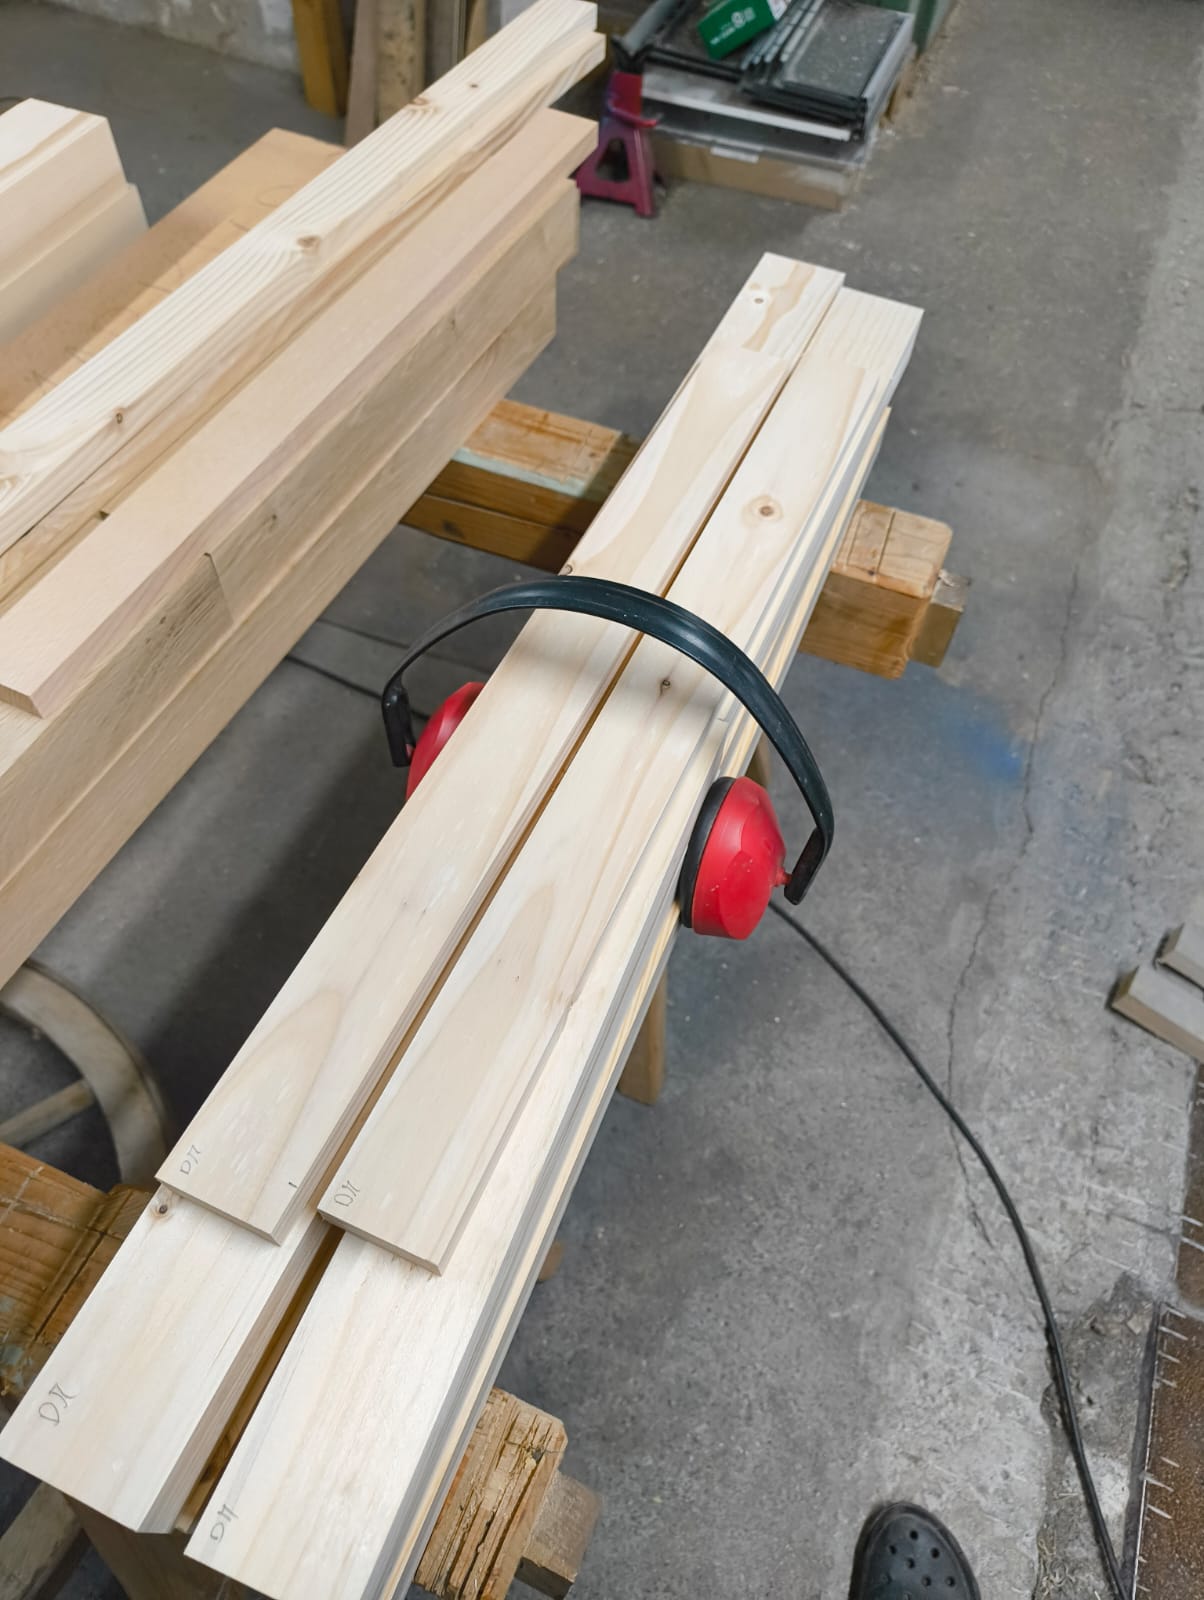
Once the plan was set we also gathered some extra wood for the cross strut. We then used a disk saw to cut them to length and a planing machine to make sure everything was level as well as straight and square.
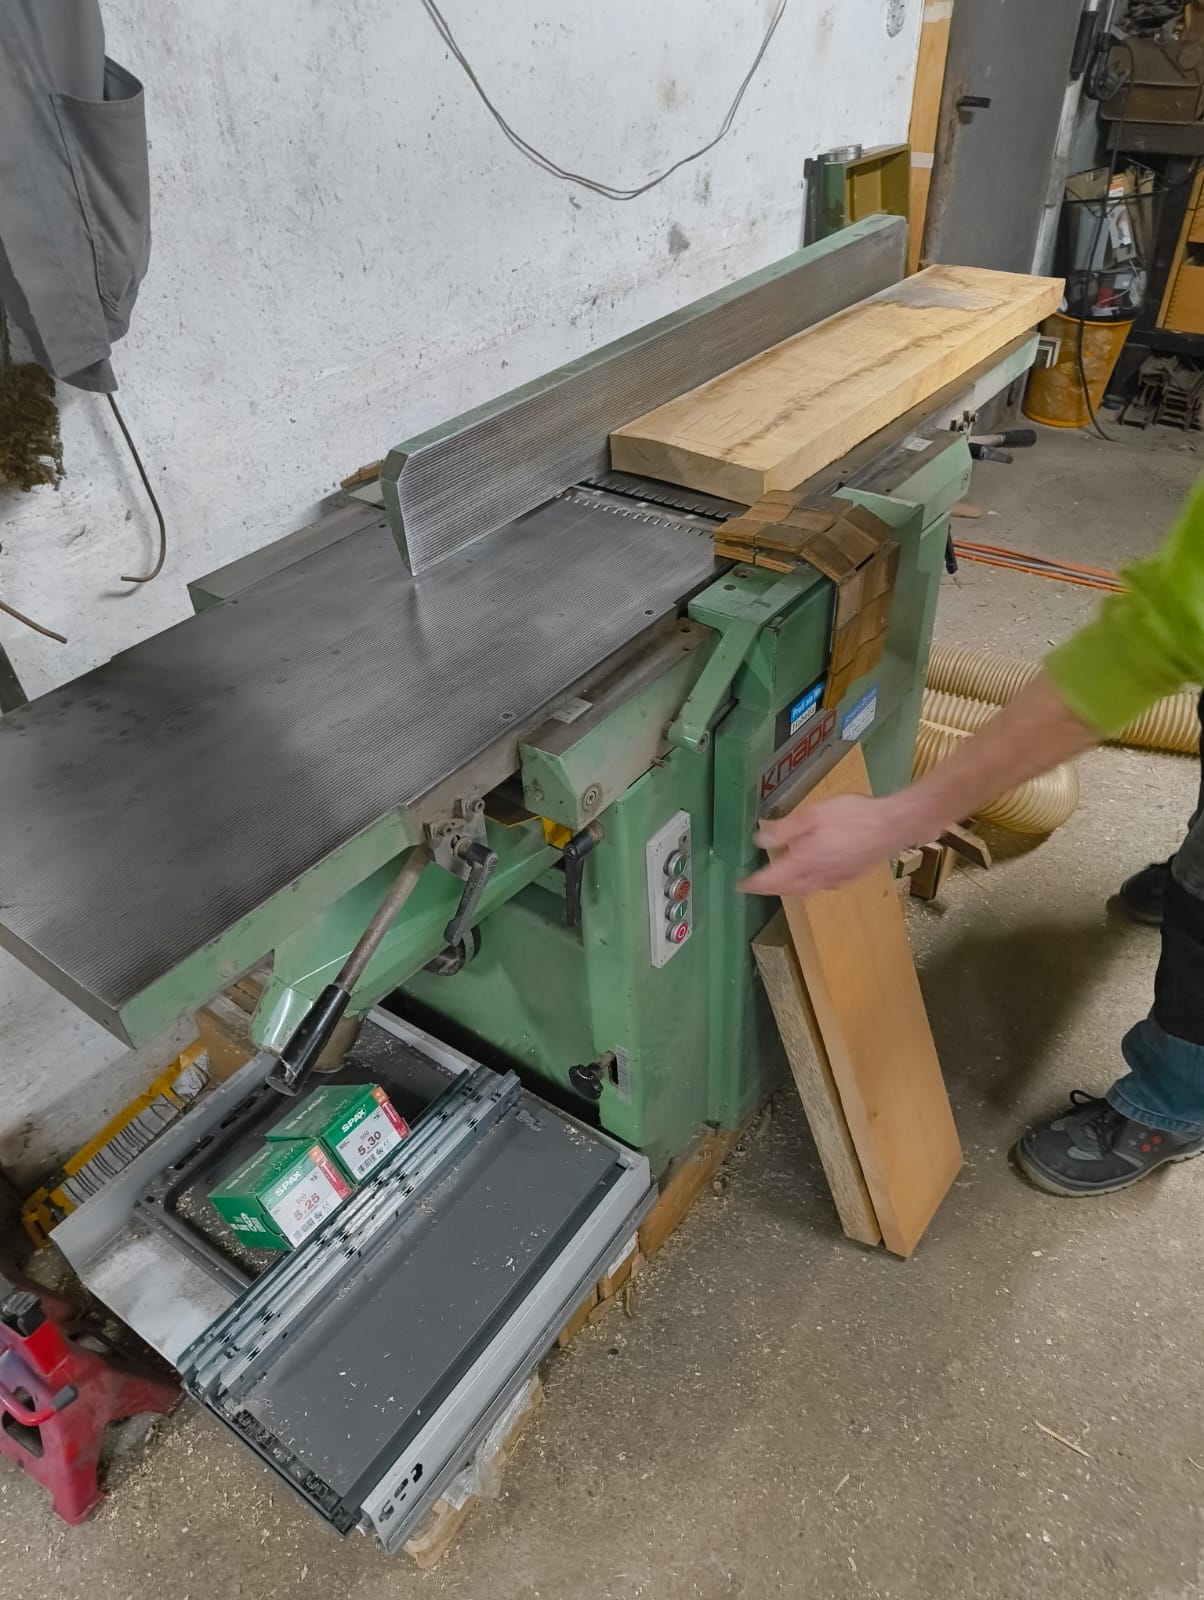
During that process my brother also made sure to explain to me all the ways to adjust the machines and the proper way to operate them. During that I noticed the high focus on precise work and safety. In a way it reminded me of QA and IT Security in my own trade. So it seems those topics are important everywhere.
Day Two
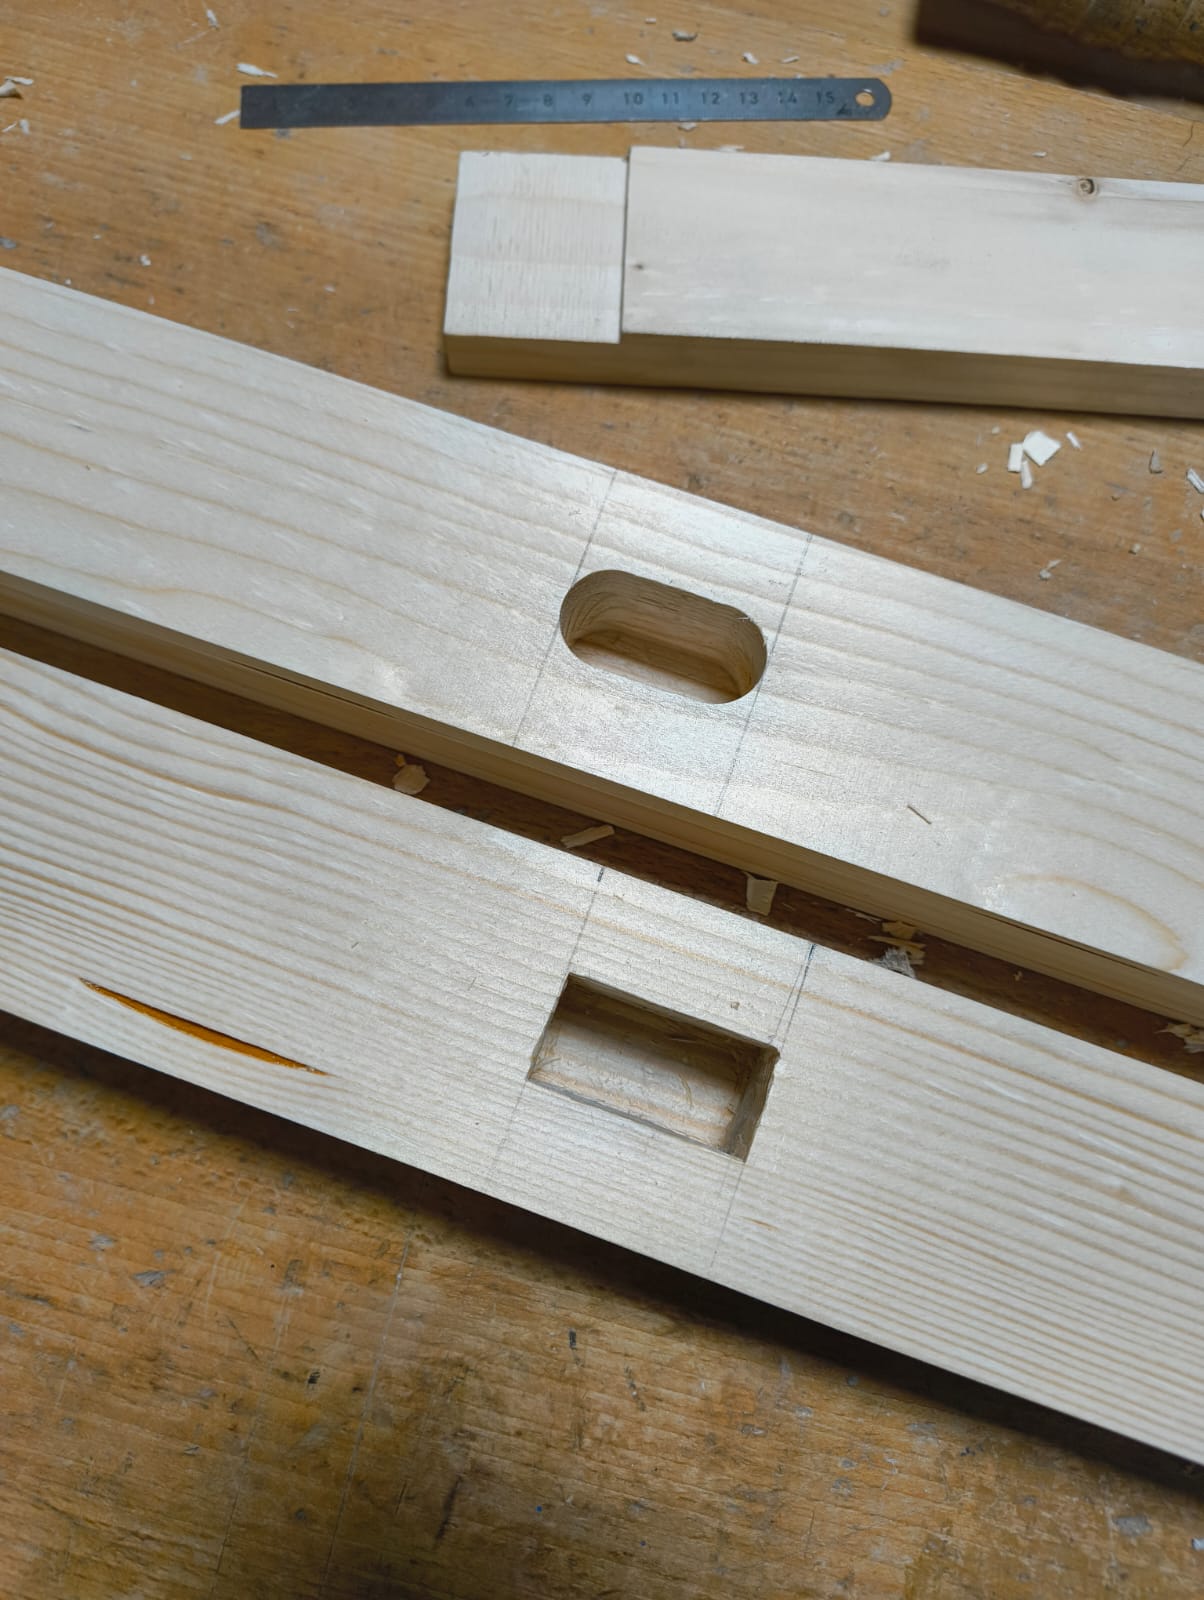
On this day we made the mortises (holes) for the tenons. We decided to make them square since I thought it would be easier than making every tenon round. Turns out using a chisel to make round holes square is not that much easier tho…
Before making any holes we made sure that the nicer looking wood would be on the visible side of the piece. We started with making all the holes with a long drilling machine.
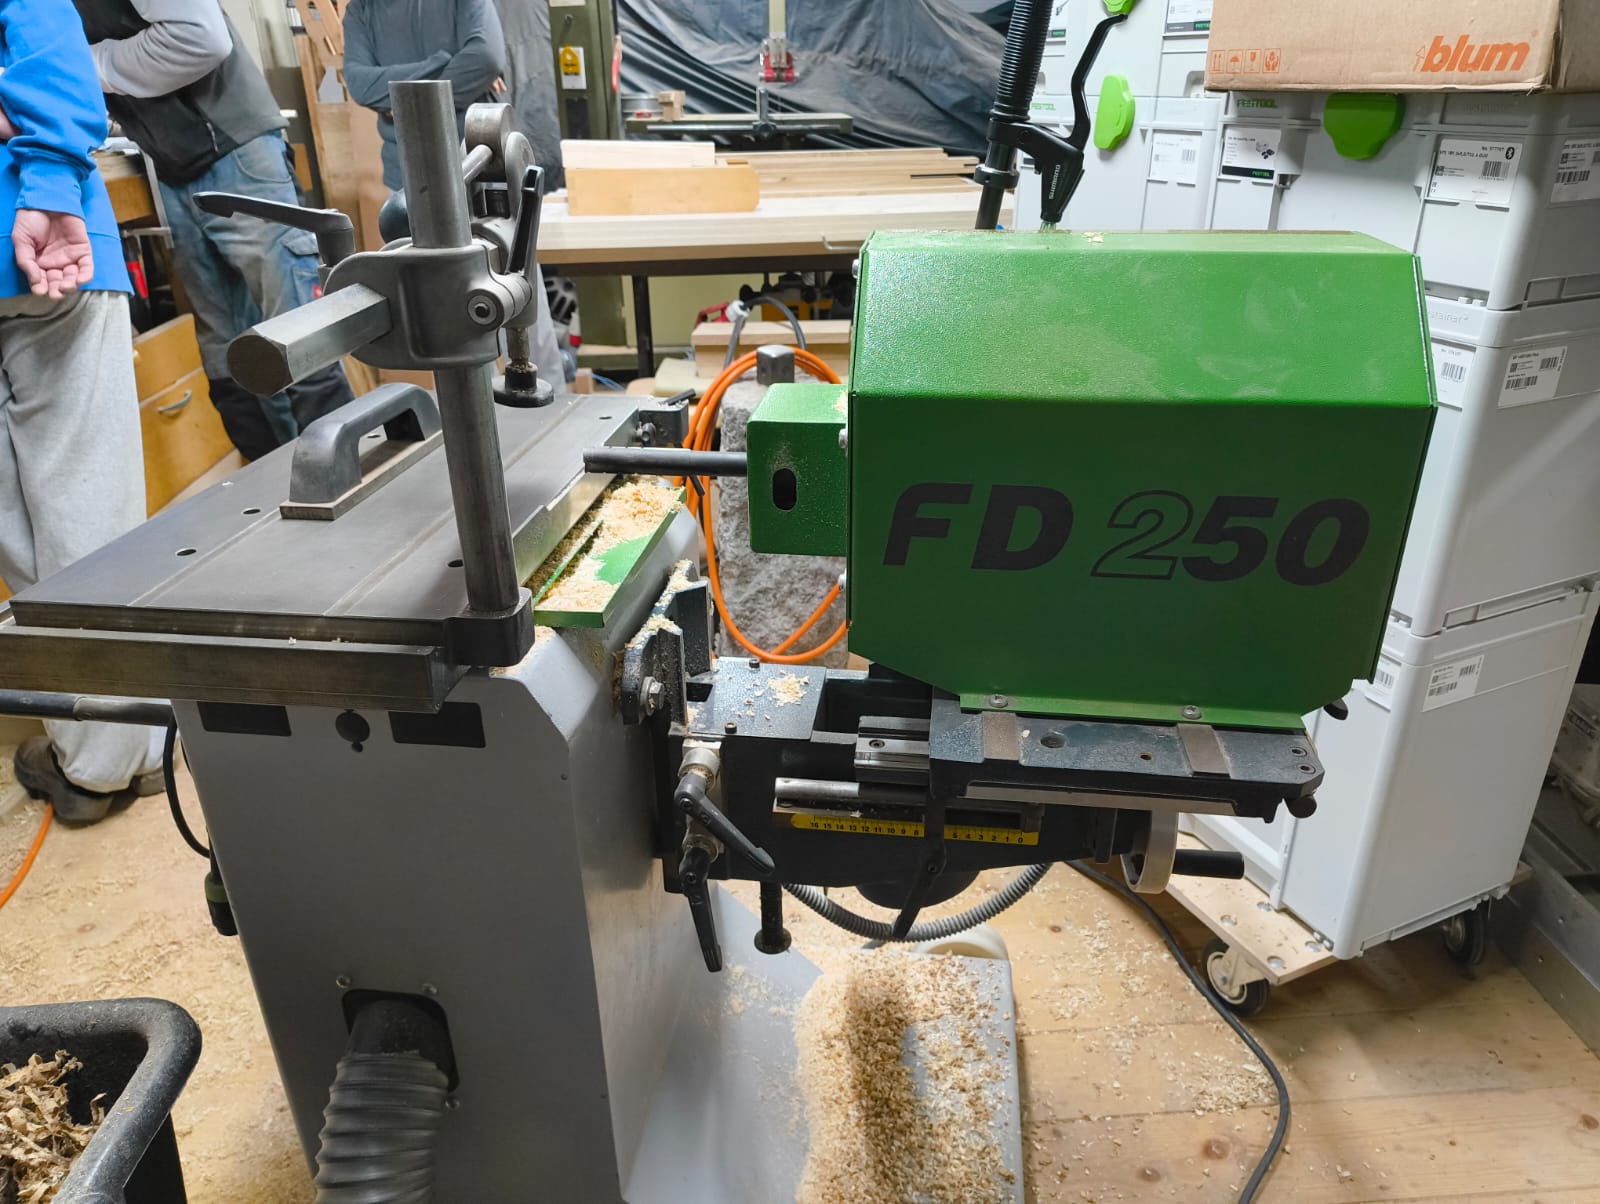
As already mentioned, the round holes were made square by hand with a chisel.
Day Three
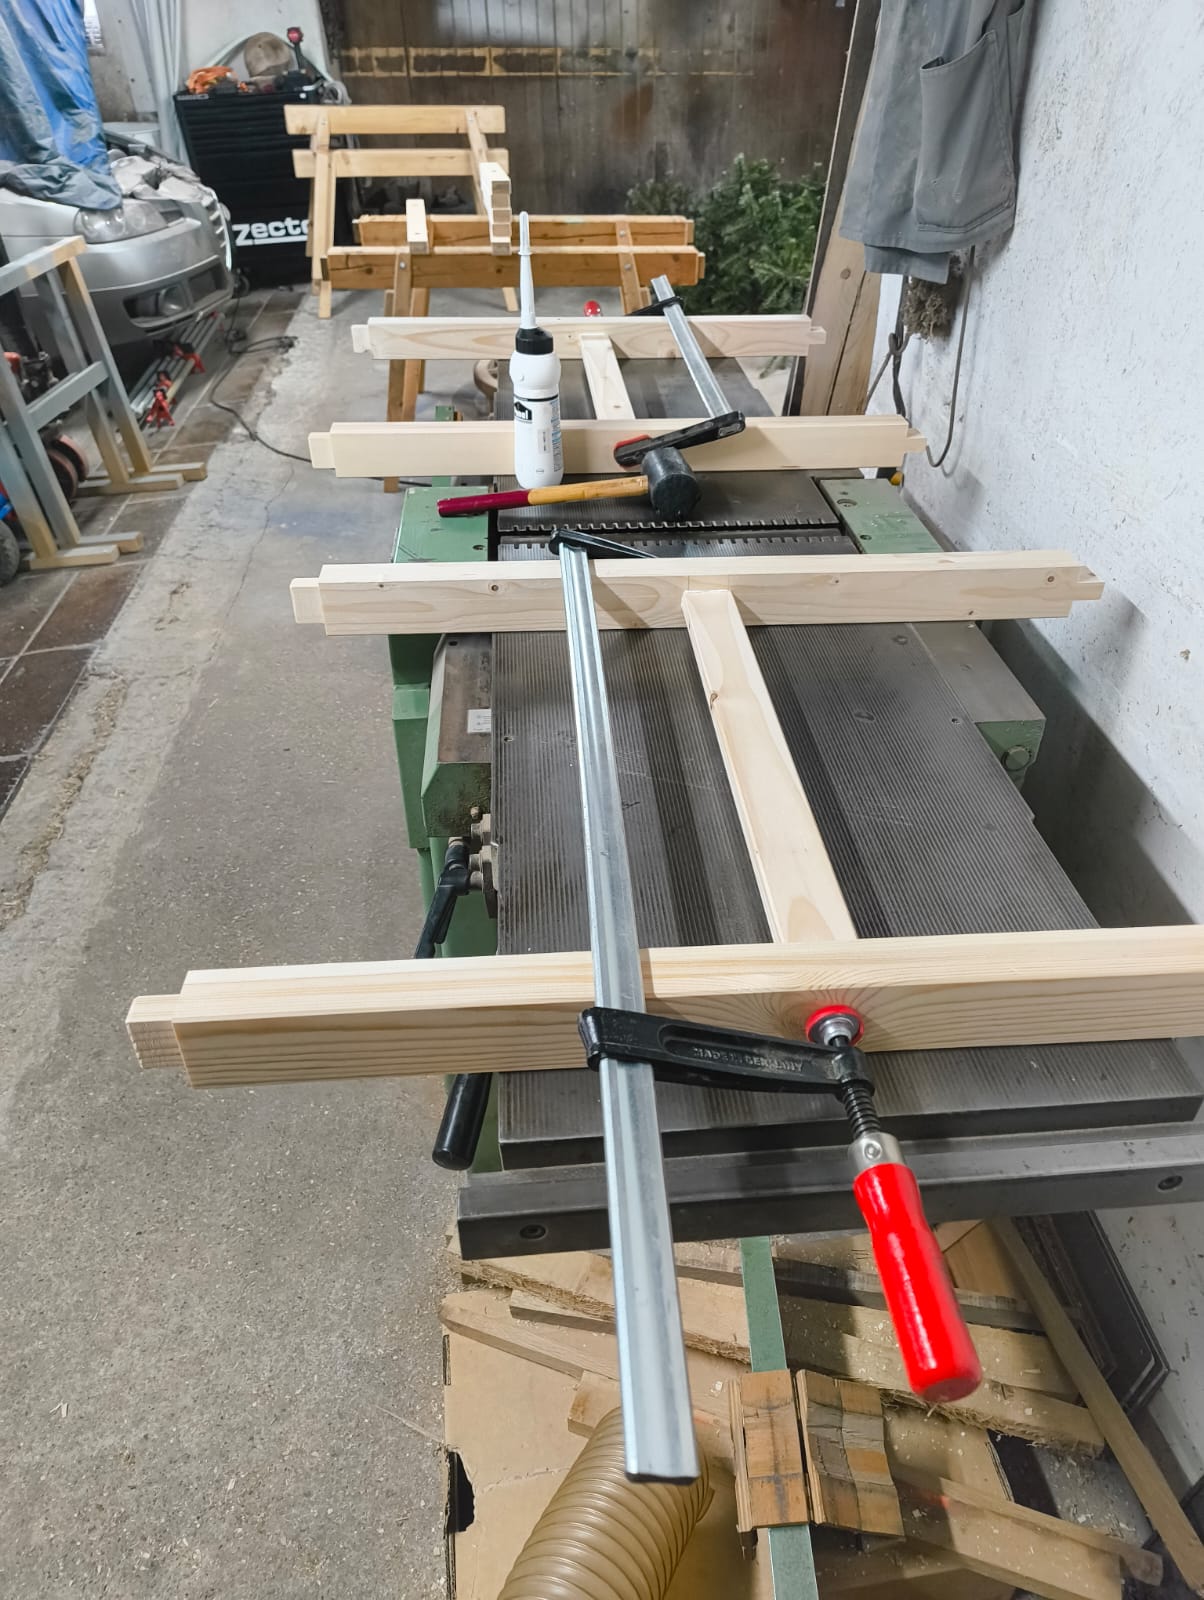
On day three we finished up the mortises and made the tenons themselves. This was quite easy actually since we only had to adjust the machines once and then could easily cut every piece to shape. The machines we used this time were yet another disk saw and a band saw.
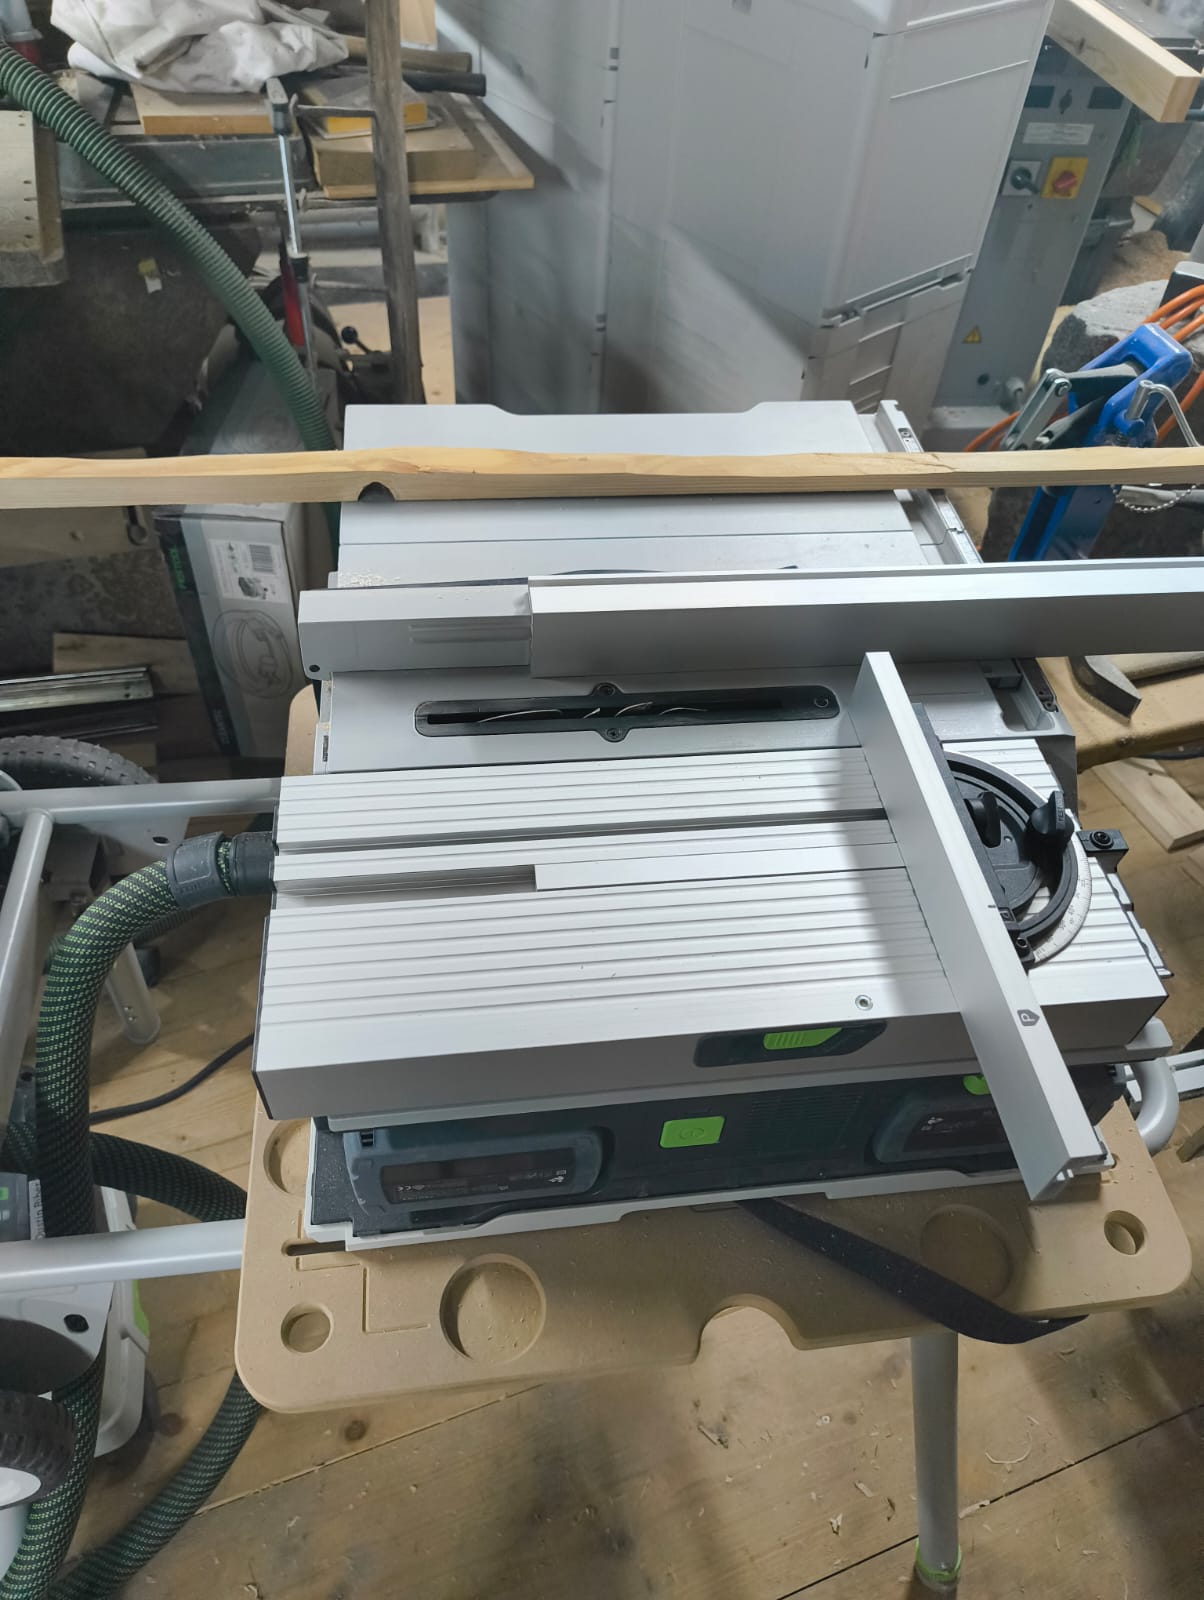
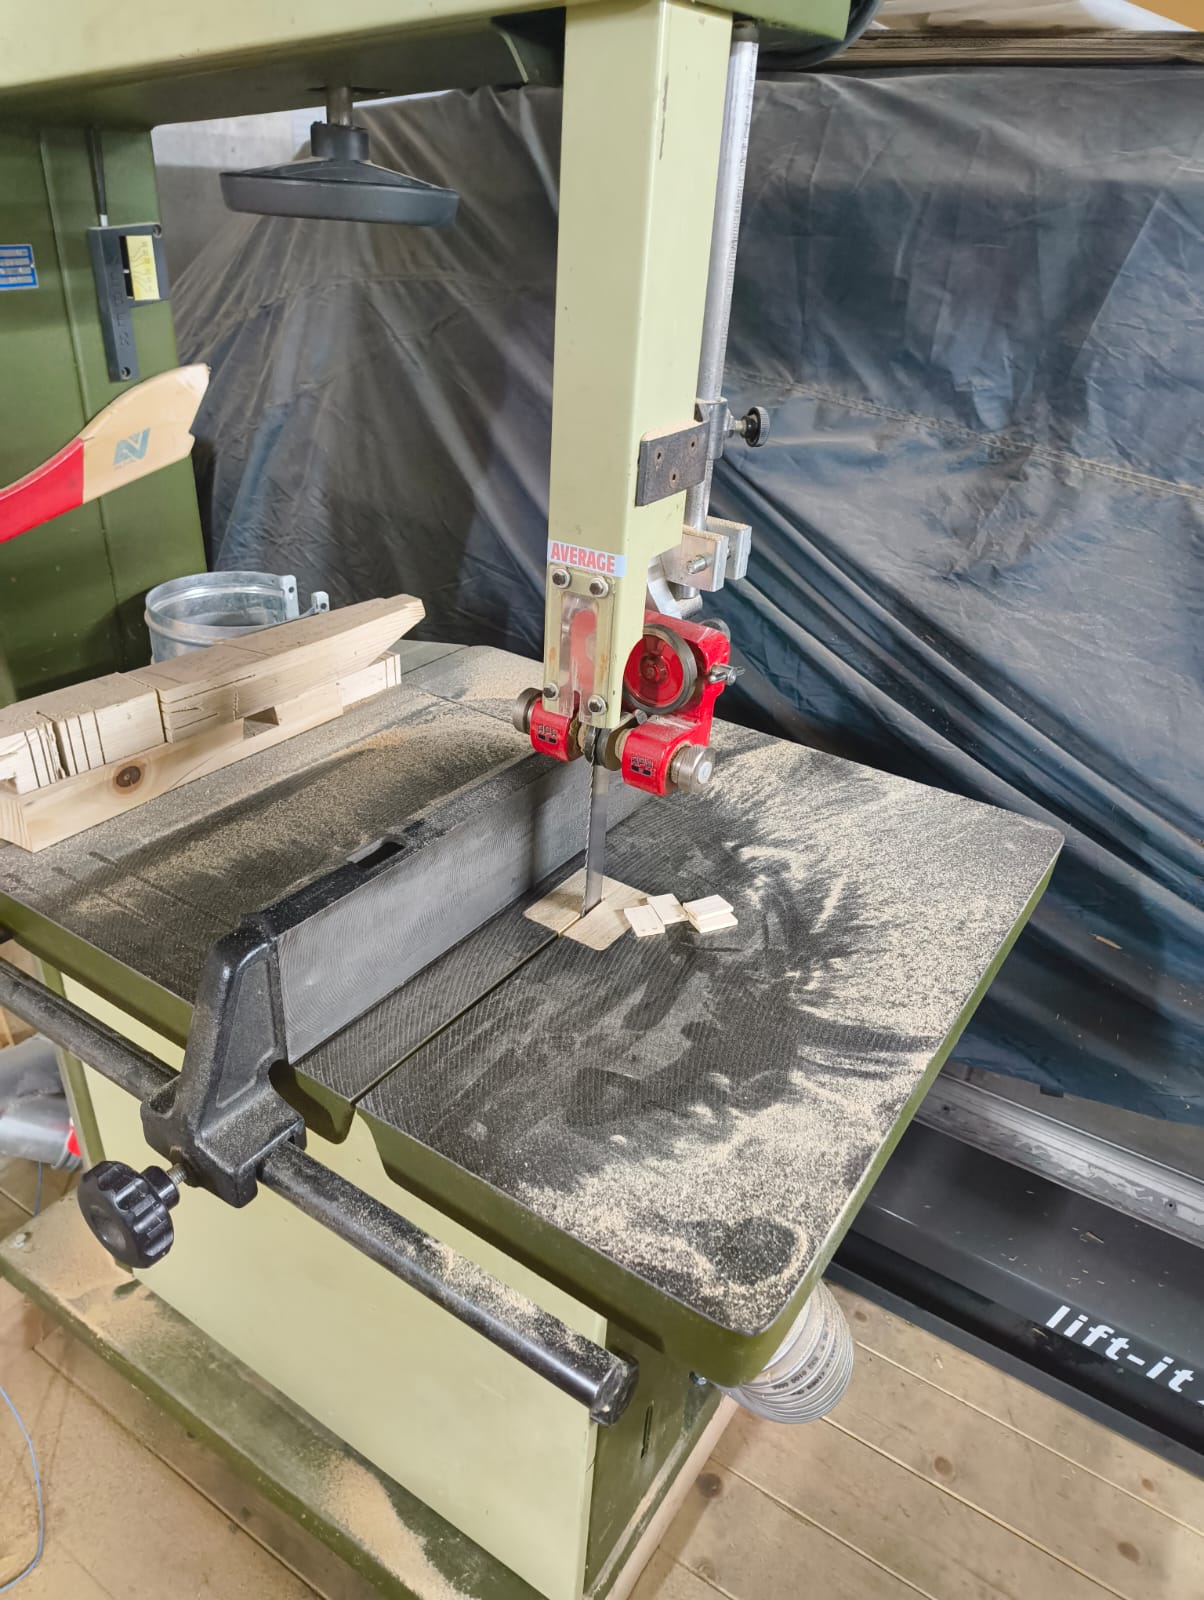
We then had some nice and square tenons!
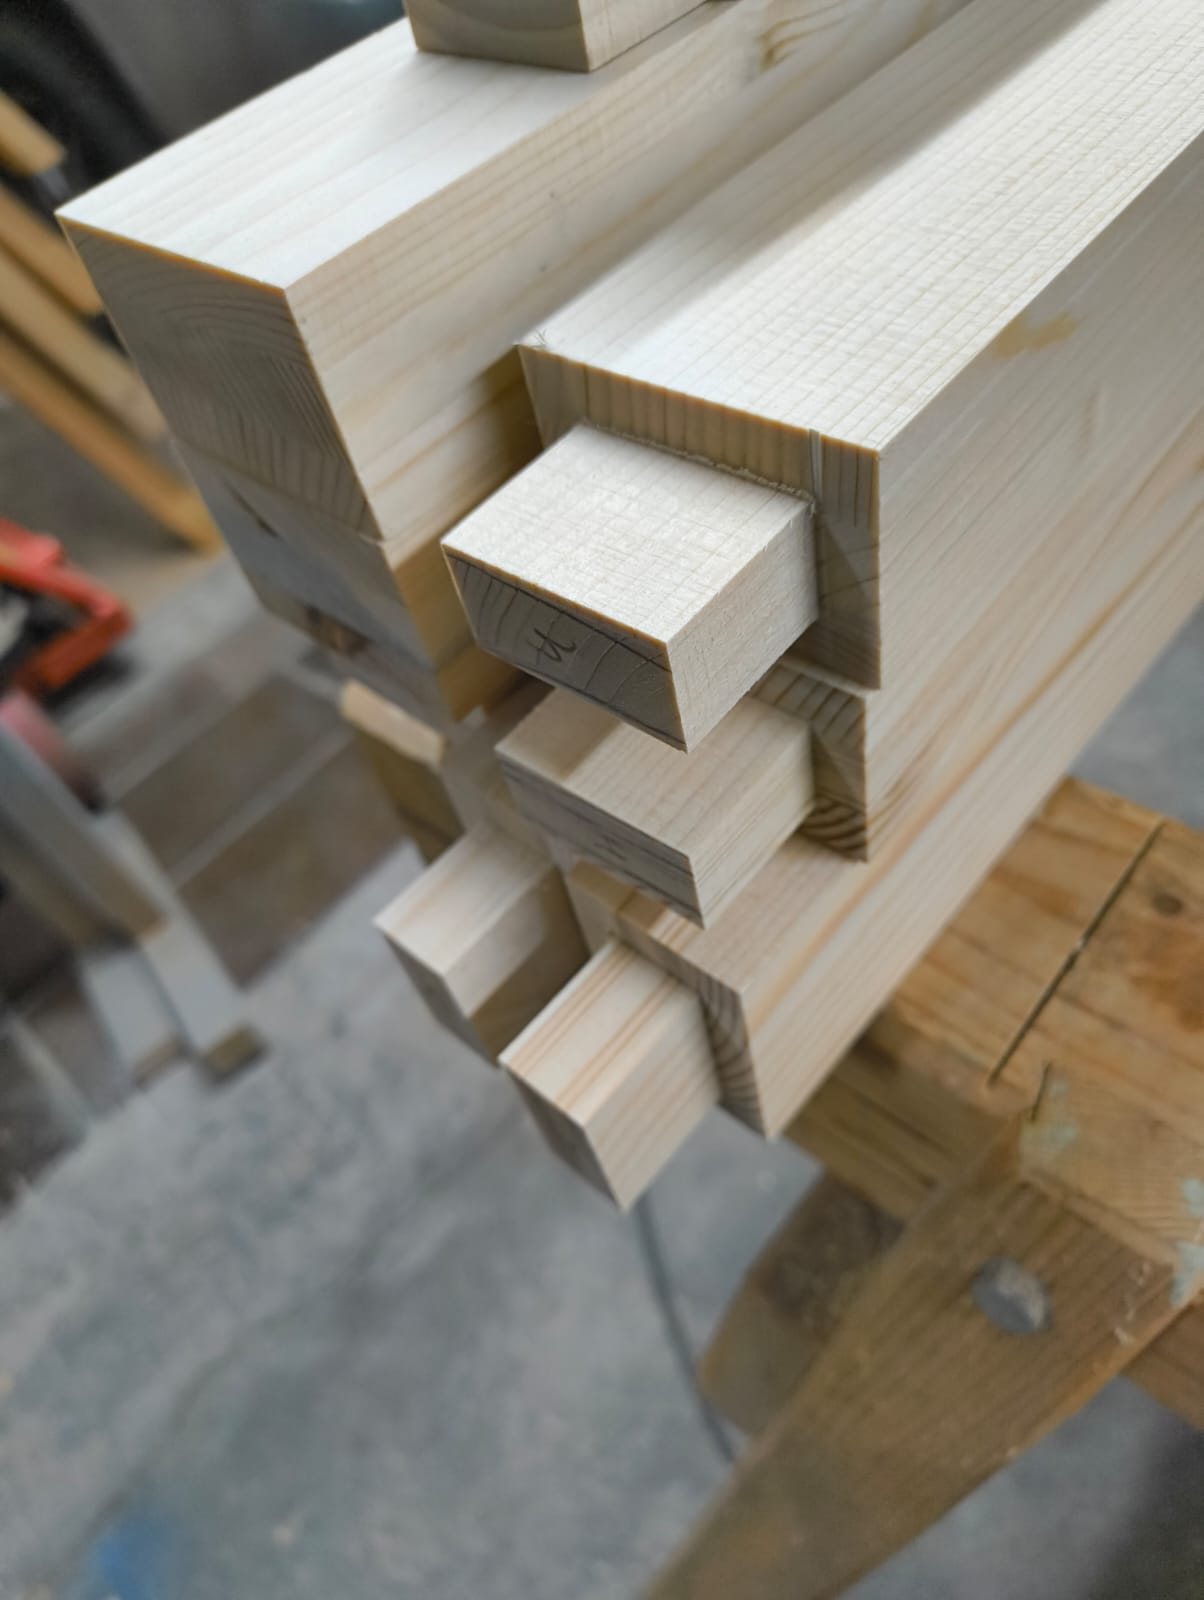
We could also already try fitting the tenons together and my brother was overjoyed with how well they fit. He was just so happy about the precision of the work :D This kind of reminded me on how happy I am whenever I write clean and extendable code. Whenever I have to add something later on and notice that it is super easy since the code base is nice and extendable I also get super gleeful :D
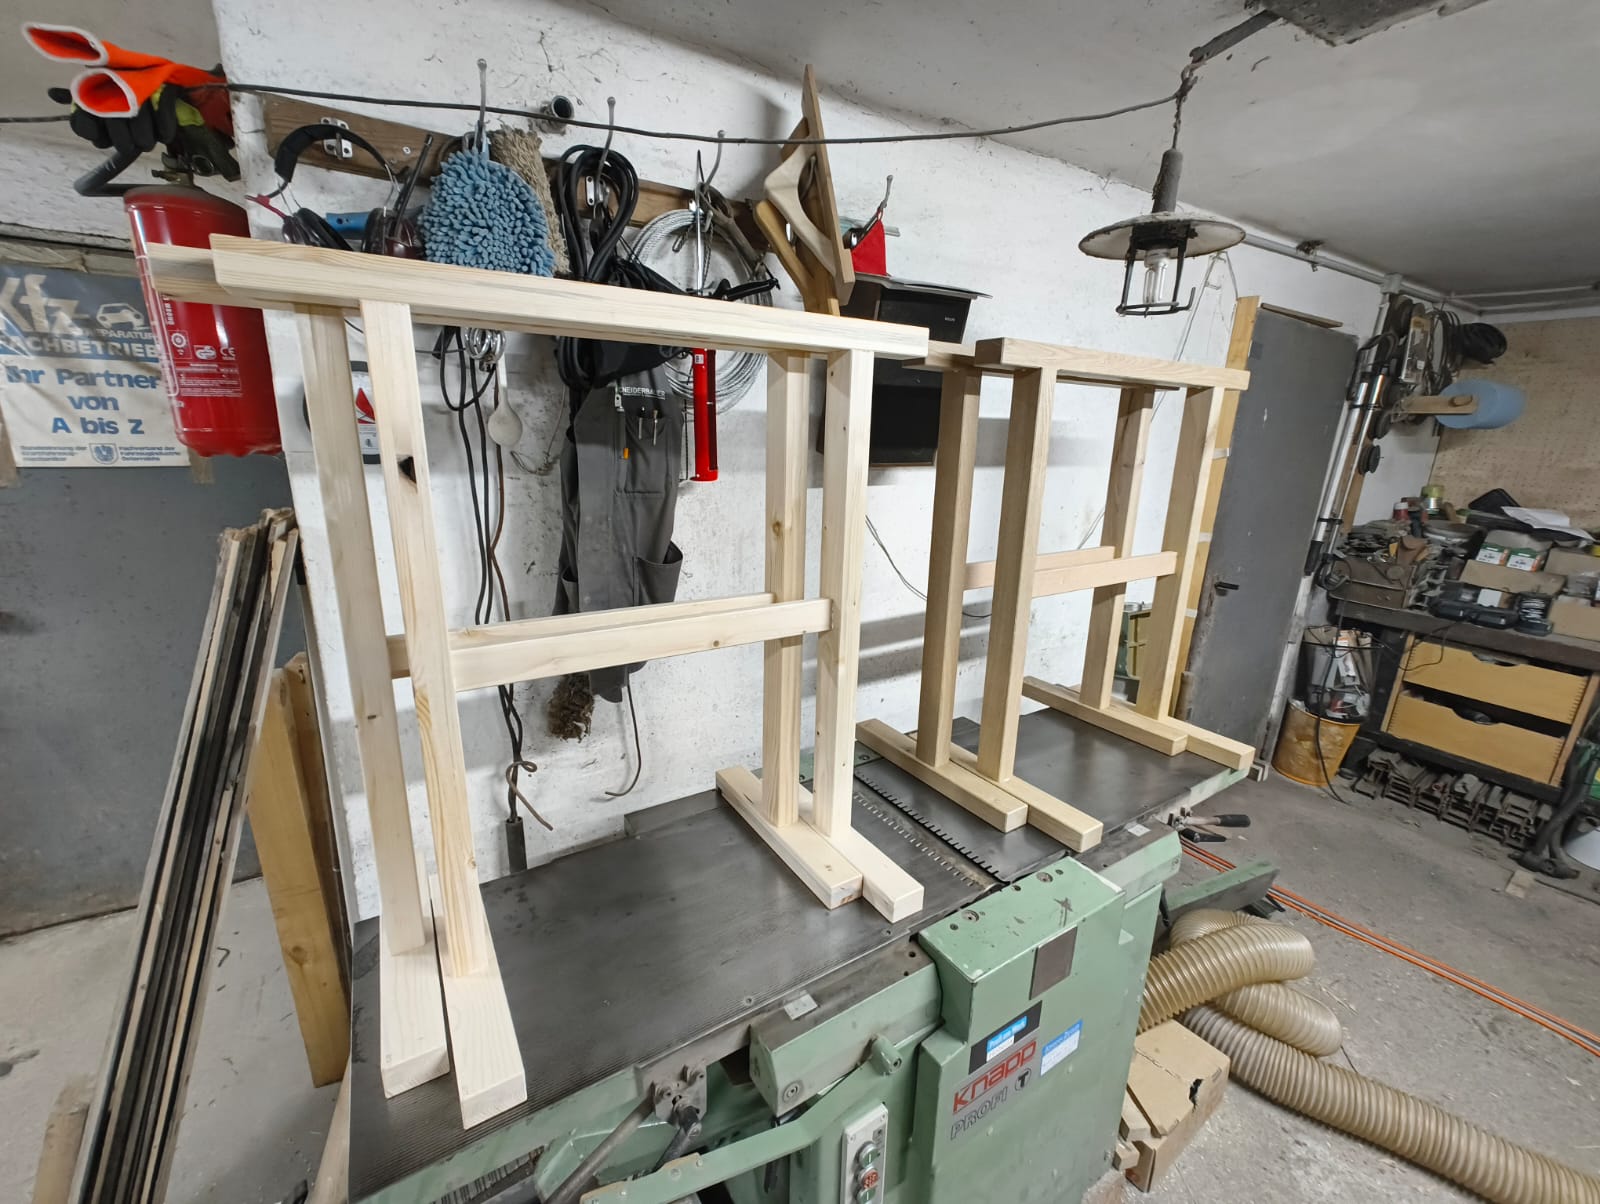
Day Four
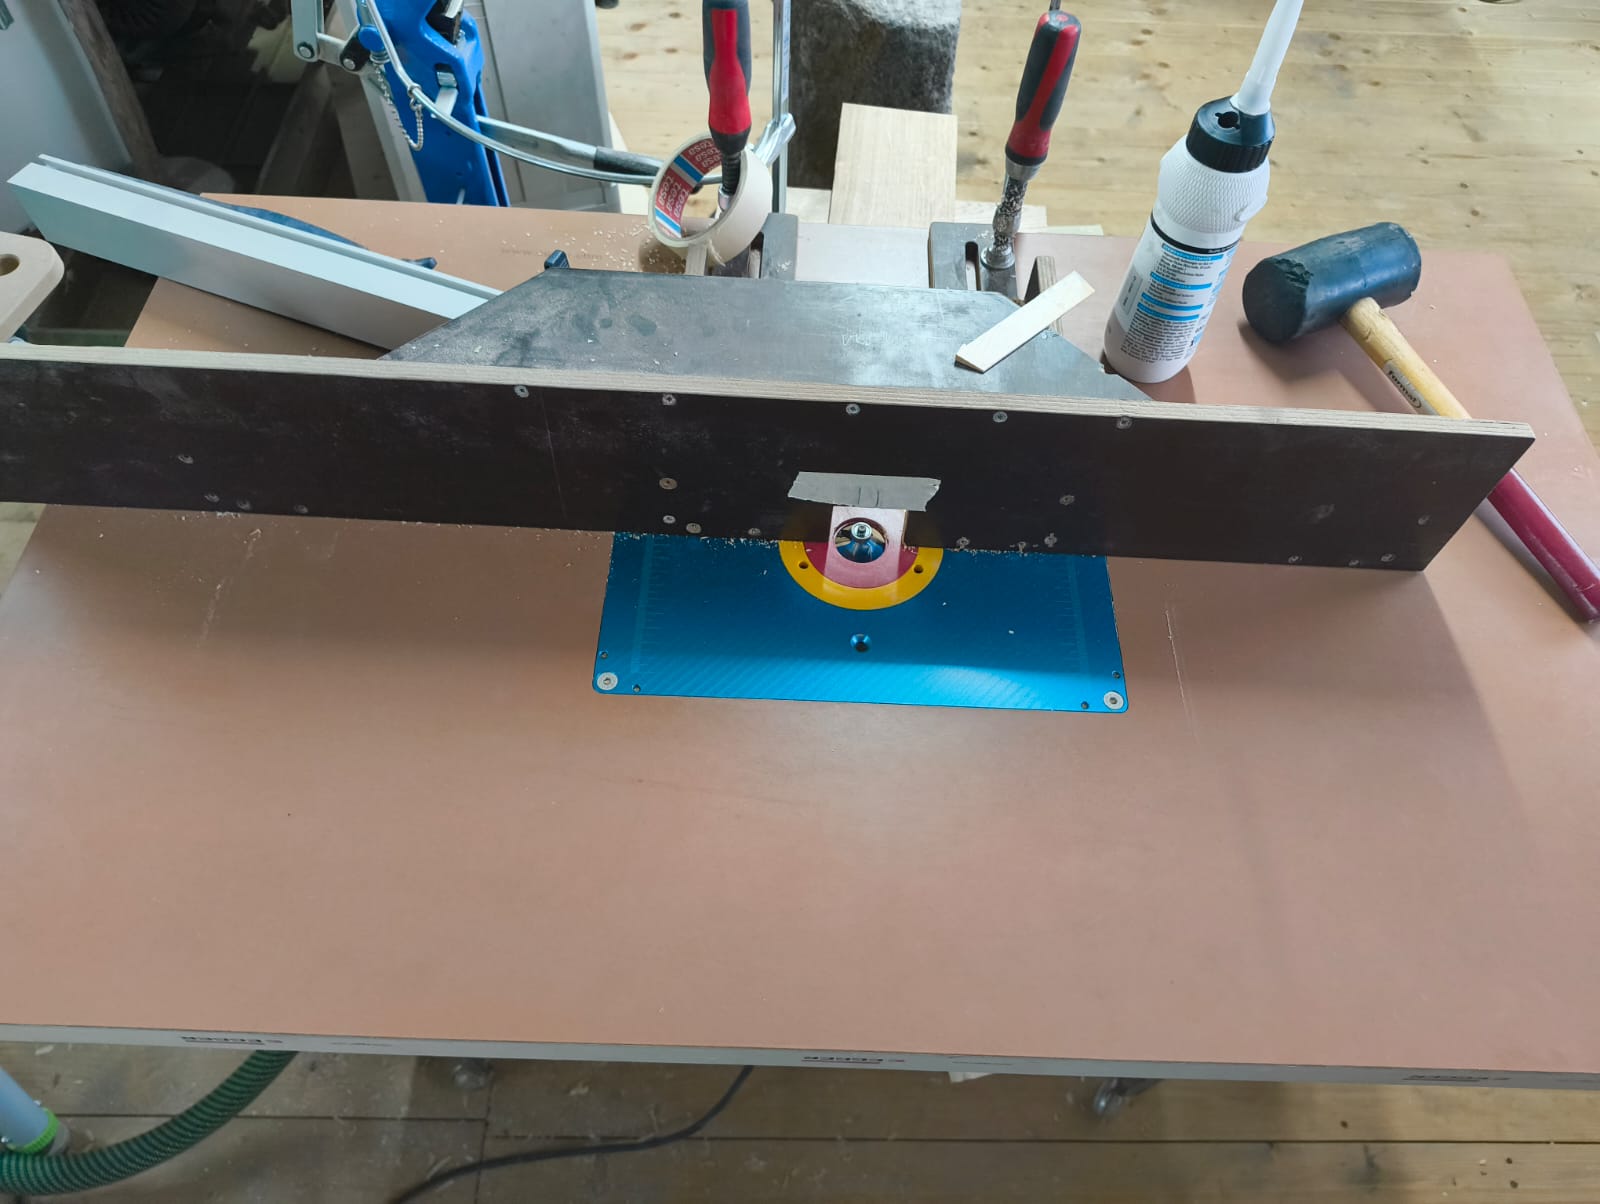
On the final day we added a chamfer to the beams to round the edges a bit. For that we used a milling cutter and some hand chiseling.
Afterwards the only thing left to do was glue it together. For that we used some rather huge joiner’s clamps and time.
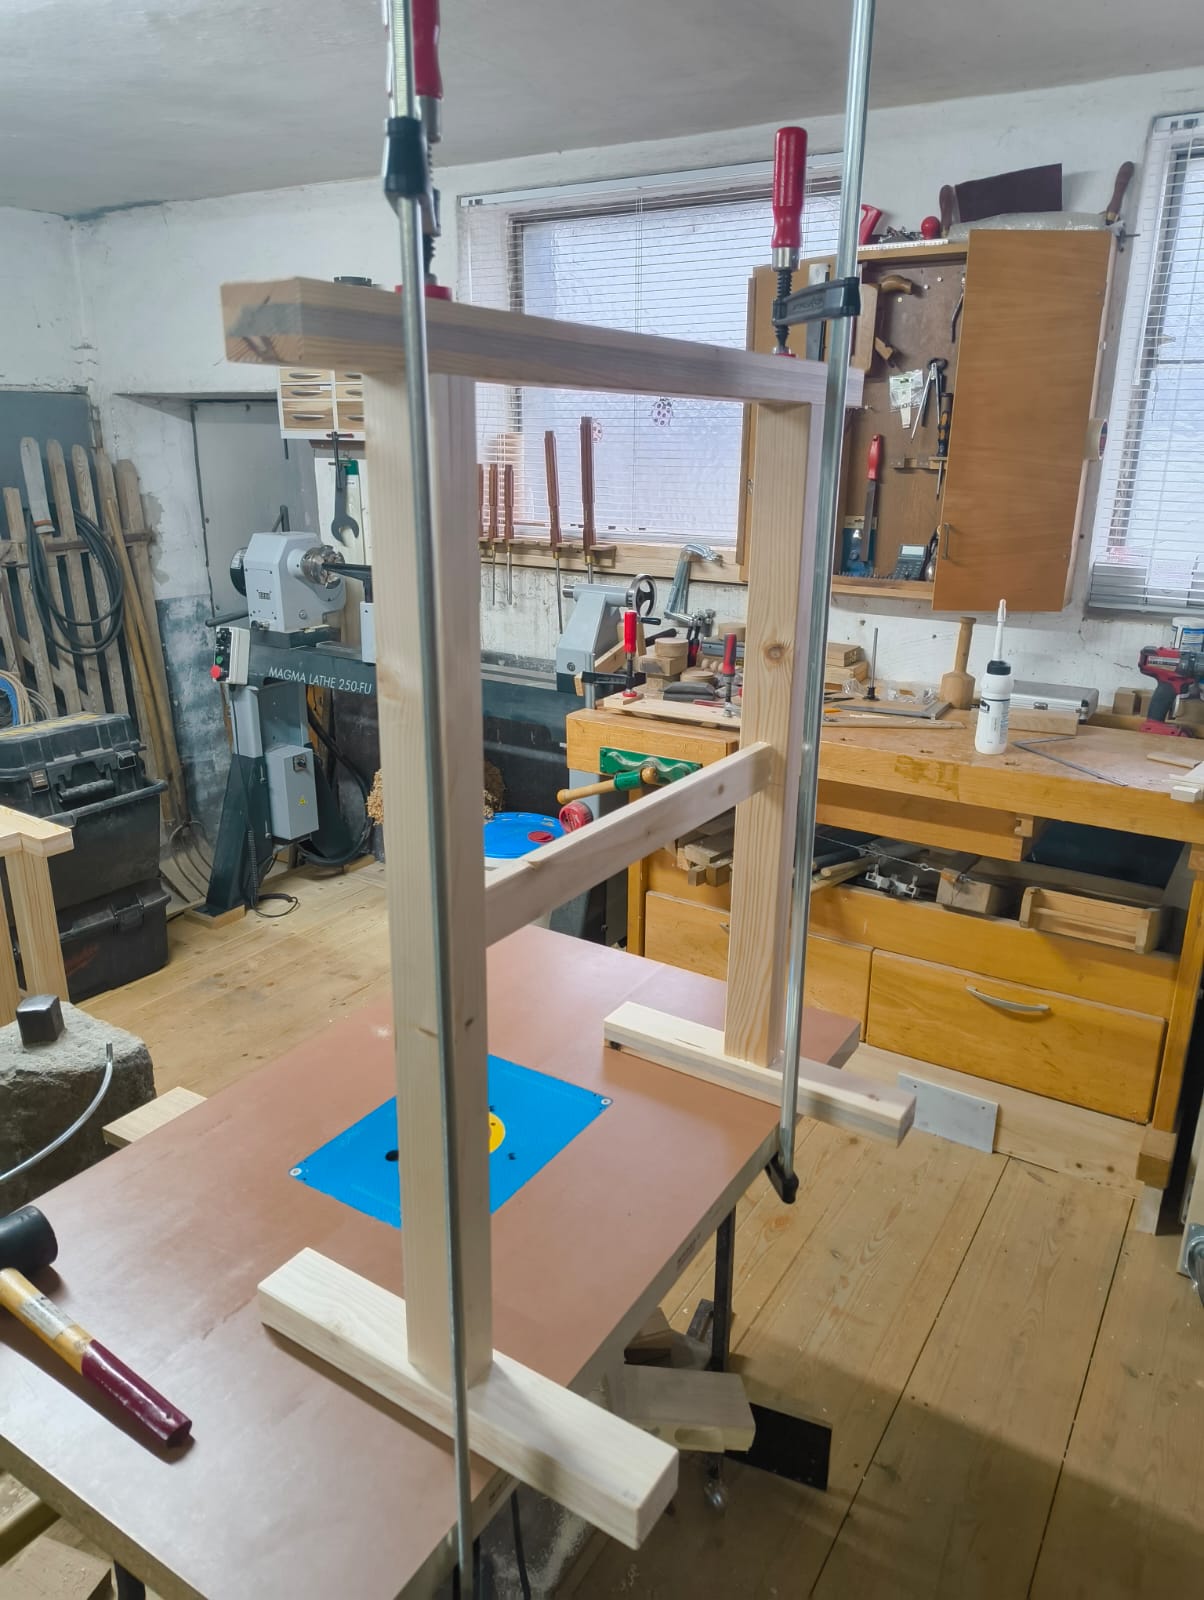
The resulting trestles looked like this:
Summary
This was just a small project where I spent some quality time with my brother whilst learning interesting things about carpentry. We made some lovely trestles together :)