Dog
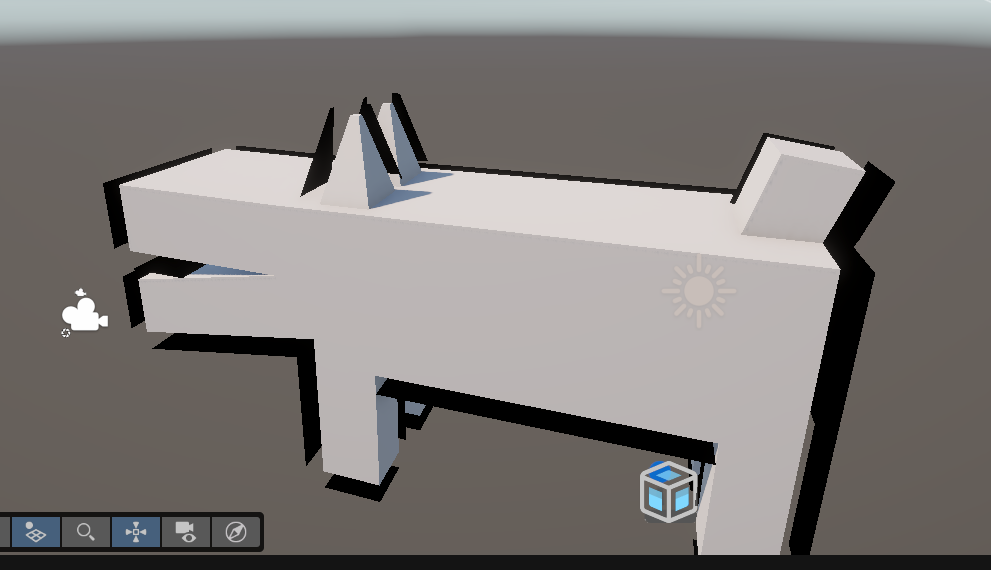
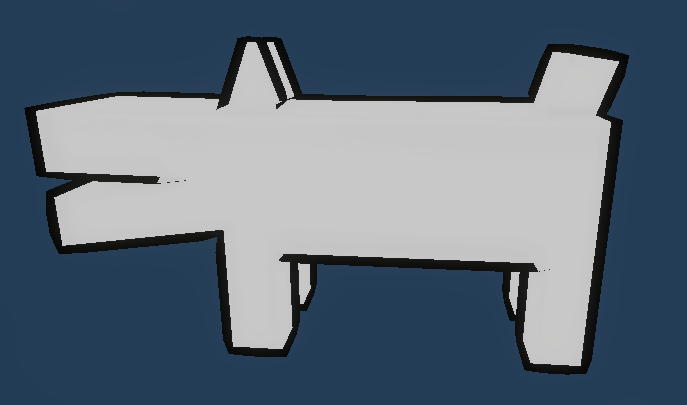
I tried out rigging with a Keith Haring Dog.
Intro
So, I thought I might try out rigging in Blender real quick. The plan was to just make a quick model of a Keith Haring dog and then rig it. In the end however this little project took a bit longer since it is never as easy as one would like. I ended up making some simple VFX, SFX as well as a background tune besides the modelling and rigging, which I then put into a small sample scene in unity. Besides this I looked a bit into LUTs and some grass rendering.
Before I dive into all the steps, here is the result:
Modelling and Rigging
The Modeling was quite straight forward, the rigging was a bit rought tho. My first mistake was not using a finished armature and adjusting it to my needs. Instead I created my own armature. The second one was thinking that I wont need a control rig, I only created a deform rig. I thought, I am only making simple animations, I wont need a control rig. Now I can confidently say: true, I did not need it. It would have been more convenient and faster however^^
I ended up creating three simple animations: Idle, Walk and Bark
Outline
Since the Keith Haring style features nice and bold lines I also wanted to have a nice outline for my model. With some trial and error I ended up with a simple inverse hull outline that I created in Unity. At first I faced trouble with my model since it features too sharp edges for that approach. As a solution I let Unity calculate new normals with a larger smoothing angle. It is still not perfect, but for my usecase I deemed it to suffice. The extra normals however messed up the shading of the model, I wanted to keep it super plain. As a workaround I just used an unlit material, aswell as a invisible material to still let the model cast a shadow.


VFX
You can already see the VFX in the videos further up. They are quite simple, just some motion lines. They are made in Unities ShaderGraph and are triggered by events that I set in the animations.
Audio
For the audio production I used FL Studio as well as the free BBC Symphony Orchestra Discover virtual instruments.
I started with creating SFX for the bark and footsteps, for that I wanted to keep it simple and just use plain orchestral instruments.
Sadly I do not have very much music theory knowledge, therefore I struggled a bit with the background tune. It was mostly just trying things out until they sounded good. I ended up with a rather nice and curious tune made out of a marimba, percussions and a clarinet. I do like the result, but sadly I do not think it fits with the rest of the demos asthetic. However I also did not have the energy to redo it, so here it stays!
Grass
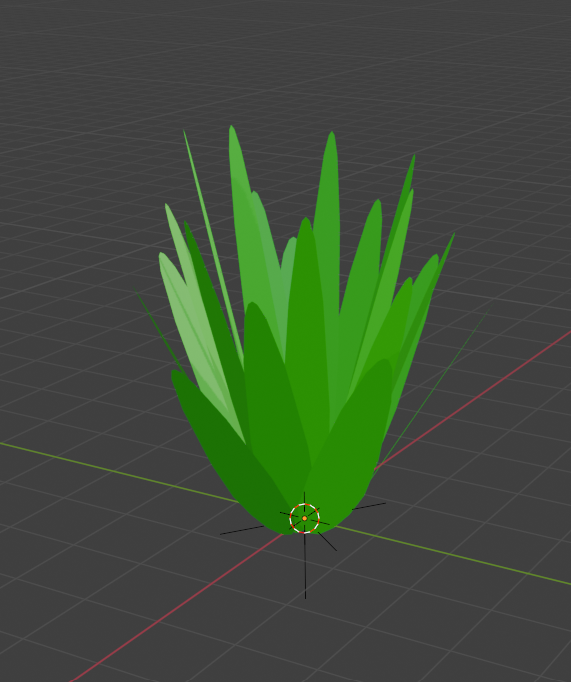
I built a simple scene with a fence, some green, a sun and a magical torus in Unity with ProBuilder. It felt a bit empty tho. So I looked into adding some grass. I was tempted to go all the way down the rabbit hole and create a compute shader utilising GPU instancing with grass meshes but ultimately decided against it due to the time cost of that. Instead I created a simple grass mesh in blender and used Unities terrain to brush them onto a plane. As it turns out, this also uses GPU Instancing!

LUTs
I wanted the bark of the dog to have some kind of effect, so I decided it should be able to swap the demos colour palette! This was inspired by the colour shift in Ape out. I tried this effect out in another demo before, back then I swapped the materials of my gameobjects. This time around I wanted to try something new. So I added a Color Lookup Postprocessing! The LUT textures for that I created using Krita. The result was a bit less controlled, but it was nice to try it out.